
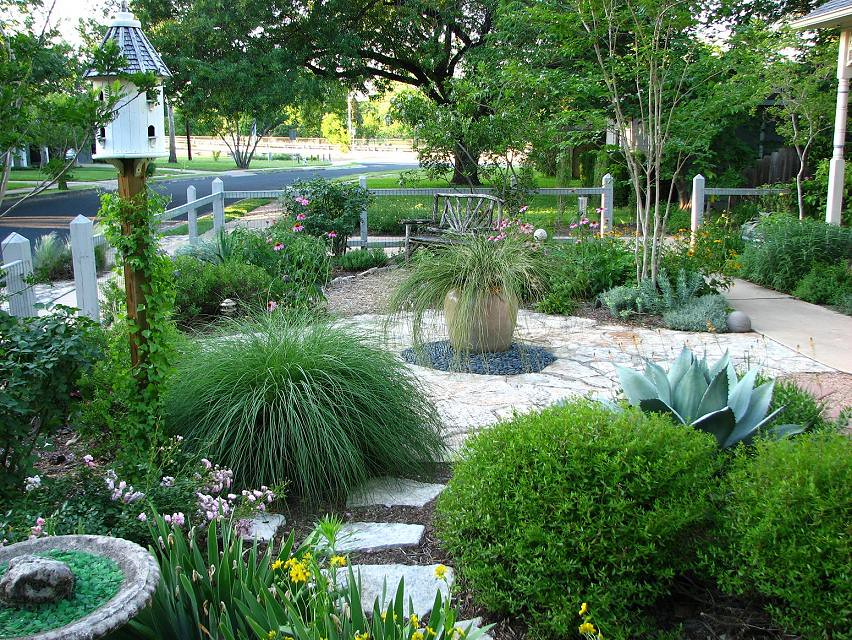
Xeriscaping a Westlake Yard Without the Gravel-Pit Look
Most of the “xeriscapes” people are afraid of are really just a lawn that got ripped out and covered in crushed granite, with three agaves spaced too far apart to hide the gaps. That version deserves its bad reputation. It bakes in the afternoon, it collects live oak leaves in every crevice, and it looks like a parking median.
A real low-water landscape does not read as a sacrifice. Done right on a Westlake lot, it looks fuller and more intentional than the St. Augustine it replaced. The difference is almost never the plant list. It is the soil, the layering, and how the design handles the one thing every West Lake Hills yard has in common: not much dirt before you hit rock.
Start With What’s Actually Under Your Yard
Western Travis County sits on Edwards limestone. In much of West Lake Hills the topsoil is a thin layer of caliche clay over solid rock, and the pH runs alkaline. That single fact decides more about your success than any plant you pick.
Two things follow from it:
- Acid-loving plants will fail no matter how you water them. Azaleas, gardenias, most hydrangeas, and Japanese maples spend their lives yellowing in Westlake soil because they cannot pull iron out of high-pH ground. People water them harder trying to fix it, which is exactly backward.
- Drainage is usually your friend, until it isn’t. Water moves fast through rocky soil, which most natives love. But where a builder left a shelf of exposed limestone under six inches of fill, roots hit a hard pan and rot. Knowing where your rock sits is worth an afternoon with a probe or a shovel before you buy a single plant.
If you only take one thing from this section: match plants to alkaline, fast-draining, shallow soil, and you have already avoided the most expensive mistake in Austin landscaping.
The Plants That Earn Their Water Here
You do not need a rare-plant collection. A handful of tough Austin-area natives and adapted species, repeated in real numbers, carries an entire front yard.
For structure and year-round presence:
- Cenizo (Texas sage) — silver foliage, purple blooms after summer rain, thrives in exactly the thin alkaline soil that kills fussier shrubs
- Texas sotol and soft-leaf yucca — evergreen architecture that holds the design together when the perennials die back
- Agarita — spiny, native, and one of the few things deer genuinely leave alone
For color and movement:
- Autumn sage (Salvia greggii) — blooms spring through fall, comes in white, coral, and red
- Blackfoot daisy — a low white-flowering mat that fills the front edge of a bed instead of leaving bare granite
- Damianita — tight and yellow-flowering, holds up on the hottest west-facing slope
For texture and softness:
- Lindheimer’s muhly and Gulf muhly — native grasses that move in the wind and give the “full” look that separates a designed space from a xeriscape cliché
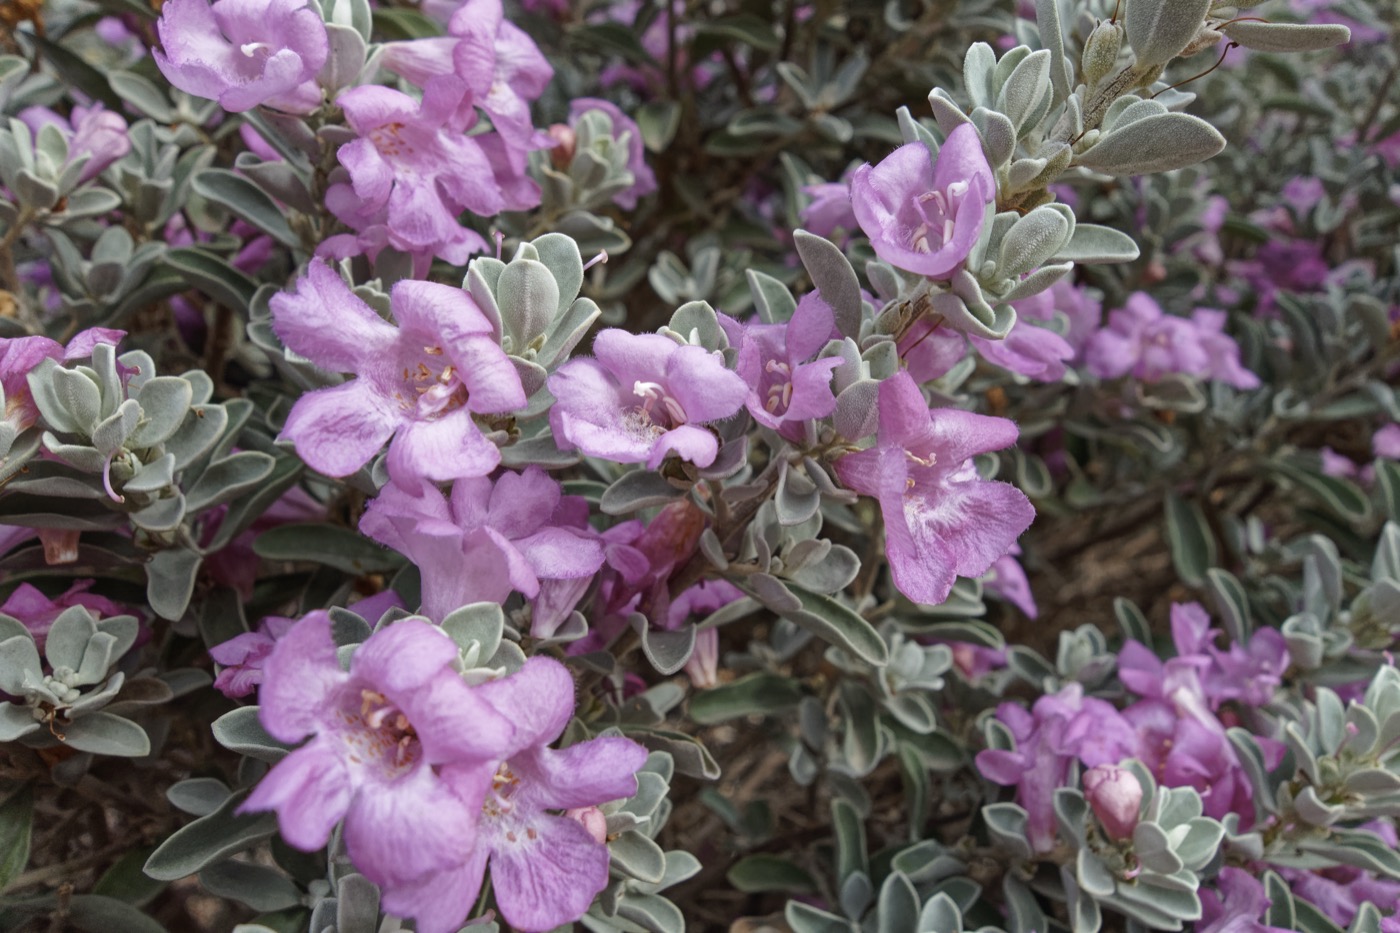
A note on deer, because in Westlake it is not optional: nothing on this list is truly deer-proof, but cenizo, sotol, agarita, salvia, and the muhly grasses are all far down the menu. The tender annuals people replant every spring are the salad bar.
Why Layering Beats Spacing
The gravel-pit look comes from spacing plants the way the nursery tag tells you to, then staring at bare ground for three years while they fill in. In practice that ground never fully fills, because the granite heats up and the plants stay stressed.
The fix is to design in layers instead of a grid:
- Groundcover layer — blackfoot daisy, damianita, or native sedges knit across the soil so there is no exposed granite to bake and collect leaves.
- Mid layer — salvia, muhly, and smaller shrubs at knee to waist height, planted close enough to touch at maturity.
- Structure layer — sotol, yucca, cenizo, or a multi-trunk desert willow to give the eye something to land on.
When those three layers overlap, the bed shades its own soil. That shading holds moisture, drops the surface temperature, and cuts the watering the whole planting needs. A layered native bed in full sun can settle into once-a-week water or less after its first summer. The same plants scattered across open decomposed granite will ask for more and still look sparse.
Rock and Mulch Are Tools, Not the Whole Plan
Decomposed granite and limestone have a place. Paths, a dry creek that carries runoff off a slope, a gravel apron where the hose bib lives. The mistake is using rock as the default surface and treating plants as garnish.
A few working rules:
- Mulch the beds, not the whole yard. Native hardwood mulch over planting areas holds water and feeds the soil as it breaks down. Granite does neither.
- Use stone where water moves. On Westlake’s slopes, a rock-lined swale earns its keep by directing a hard summer downpour instead of letting it cut a rut through your beds.
- Keep granite off tree roots. A blanket of rock over a live oak’s root zone traps heat against roots that evolved under leaf litter.
Timing: Summer Planting Works When the Water Is Right
There is a myth in Austin that you cannot plant in the heat. You can. We install native beds all summer, including July, and they take. The reason people fail at it is not the calendar. It is that they plant into July heat and then try to keep everything alive with a hose and an assigned watering day, which is never enough for a plant that has not grown roots yet.
The fix is drip irrigation, installed with the planting. New natives do not need a lot of water, but they do need consistent water at the root zone for the first several weeks while they establish. Drip delivers it slowly, right where the roots are, with almost none lost to evaporation off hot granite. It also runs on the schedule Austin Water allows for drip rather than the tighter rules on spray, so a summer install stays legal and stays watered.
What a summer planting actually looks like:
- Prep: clear the existing turf, run the soil probe to find where the rock sits, settle the layout.
- Install: plant the beds and lay drip lines to every plant in the same visit, then mulch over the lines to shade the soil and slow evaporation.
- Establish: run the drip on a short daily or every-other-day cycle for the first few weeks, then taper it back as roots reach down.
Handled that way, a bed planted in July is anchored before fall and settled into that low-water, full-looking state by the next summer. The plants were built for this heat. What kills them is going in dry, not going in hot.
The Short Version
A drought-tough Westlake landscape is not a lawn minus water. It is a design built around thin alkaline soil, planted in overlapping layers so the ground never bakes bare, using natives that were already living on this limestone before anyone laid sod on it. Get the soil and the layering right and the water savings come for free, without the yard ever looking like it gave anything up.
If you are staring at a browning lawn and a summer water bill and wondering whether it is worth converting, you do not have to wait for cooler weather to start. Get the soil and the layout right, put the plants in on drip, and a July install roots in just fine. That combination is the whole reason a conversion looks intentional instead of looking like a median.
Image credits: Header photo — Pam Penick’s Austin front yard by Gardener Susan, CC BY 2.0. Cenizo in bloom by Almapayokels via Wikimedia Commons, CC0 1.0.
